In this post we show you how to use the seeds of your plants (as long as the plant is edible) to make your own sprouts, a very nutritious food and for vegetarian/vegan options, a great source of vegetable protein.
There is only one precaution: if you see that there are mushrooms in the tupper, do not consume it under any circumstances. Throw away all the sprouts, wash the tupper and prepare another one. If it is the same seed, this time add less water to the germination.
Necessary elements
- 2 Tupperware, not totally transparent. We reuse tupperware from Chinese restaurants.
- Cooking Paper
- Edible plant seeds
- Water
Dietary Properties of Sprouted Seeds
The seed of a plant contains a large amount of carbohydrates, which is a reserve energy for the future plant to grow without roots. When the plant germinates, it converts these carbohydrates into a multitude of healthy components, such as:

- Vegetable protein with a balanced amino acid profile.
- Vegetable fiber, which helps digestive processes and regulates blood sugar levels.
- Antioxidants
- Vitamins C, K, A and several of the B group.
- Of course, its caloric contribution is almost nil.
Obviously, the amounts of each compound vary greatly depending on the plant we are germinating.
Steps to prepare seed germination
Let’s see step by step how to make the sprouts. You will see that it is a very simple and fast process.
Step 1: Prepare the Tupper
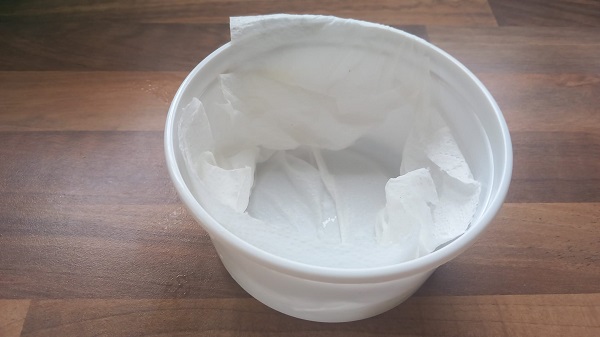
We take a clean Tupper and a piece of kitchen napkin.
We put the napkin in the tupper so that it covers the inside.
With a spray or with a little water in the hand, we wet the napkin so that the seeds have water to germinate.
There are seeds that need more water than others, for example lentils need more, and quinoa very little.
Step 2: Filling the Seed Tupper
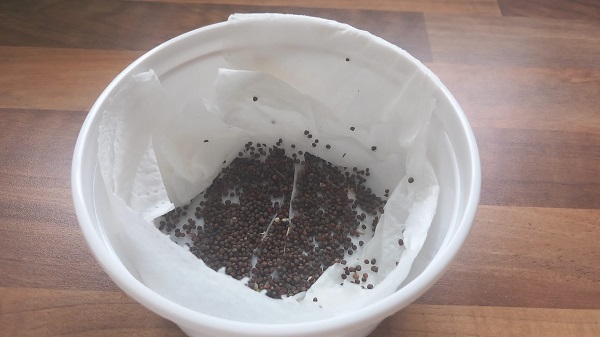
Spread the seeds so that they make a thin line that covers a large part of the tupper.
The seeds must touch the wet napkin in order to germinate.
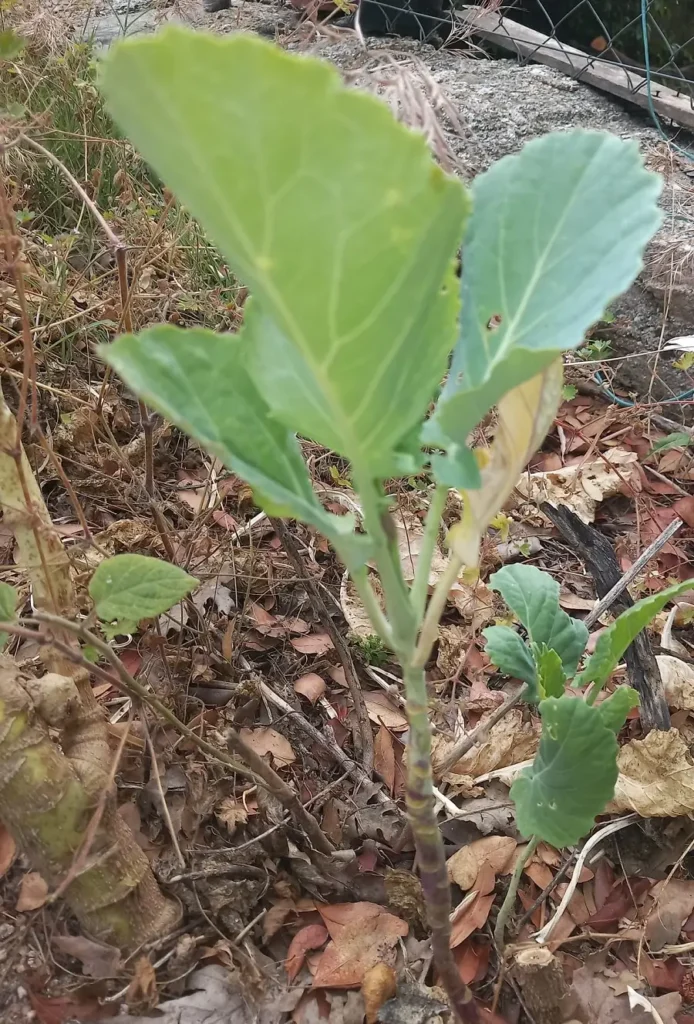
This time we have used seeds of our Galician Kale, but we have used in other occasions Lentils, Quinoa, Mustard…
Any edible plant seed that is small in size is suitable for sprouting.
Step 3: Cover the Tupper with another one.
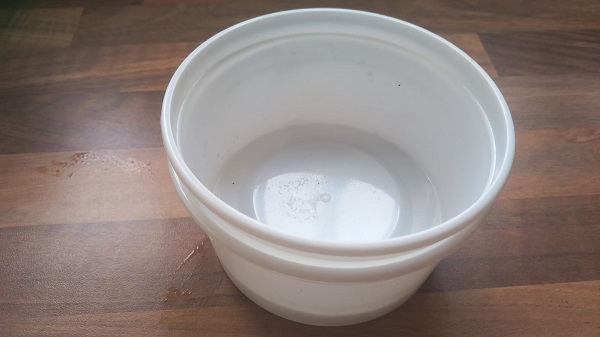
We choose the same tupper and cover it. You can make a tower of tuppers, it’s okay, as long as the top one is empty. The purpose of this is twofold: to maintain higher humidity and to keep out light
Seeds germinate best without light, so bring them to a dark, warm place.
Leave them there for 2-3 days. You will see that they have germinated because they will have lifted the upper tupper.
Step 4: Keep seedlings until consumption
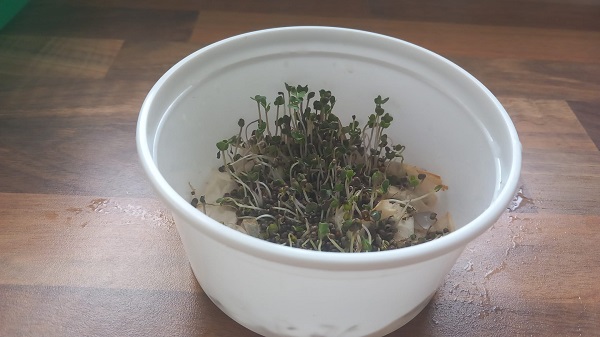
Once the seedlings have lifted the upper tupper, we uncover them and leave them in a place with light, but not in direct sunlight because the plants have almost no root and would die dehydrated.
We water them daily with a spray or by spraying a few drops of water by hand. The seedlings will last a few days and continue to grow.
When we are going to consume them, we cut with a scissors from the base of the plant, without taking paper or seed.
Which seeds work best for sprouting
Almost any edible seed can be sprouted, but these are the easiest and most reliable for beginners:
- Alfalfa: the classic sprout — mild flavor, ready in 4-6 days.
- Mung beans: crunchy, fast, and the base of Asian bean sprouts.
- Lentils and chickpeas: great source of plant protein; ready in 2-3 days.
- Broccoli and radish: slightly spicy sprouts, very rich in sulforaphane.
- Wheatgrass: let it grow taller for juicing rather than eating the sprout itself.
Important: never sprout seeds from the nightshade family (tomato, potato, eggplant, pepper) — their sprouts contain solanine and are toxic. Also avoid seeds treated with fungicides; use seeds sold specifically for sprouting.
Common mistakes when sprouting seeds
- Too much water: seeds need humidity, not a puddle. Excess water is the main cause of mold — as we said, if you see fungus, discard the whole batch.
- Not rinsing daily: rinse the seeds 1-2 times a day with clean water to keep them fresh and prevent bacteria.
- Direct sunlight too early: seedlings need light only once the leaves appear; before that, gentle ambient light is enough.
- Keeping sprouts too long: consume them within 3-5 days and store them in the fridge in a closed container with a paper towel.
Frequently asked questions
How long do sprouts take to grow? Most are ready in 3-6 days, depending on the seed and room temperature (faster when warm).
Are raw sprouts safe to eat? They are for most people, but since they grow in warm, humid conditions they can carry bacteria. Rinse them before eating; pregnant women and people with weak immune systems should eat them cooked.
Why do my sprouts smell bad? A sour or rotten smell means bacterial contamination or too much water — throw the batch away, wash the container well, and start again with less moisture.
Now that you know how to grow microgreens, here are some recommendations that we think you may find useful:
🌿 Microgreens Seeds
Grow microgreens fast and easy, add freshness and nutrients to your meals.
👉 View on Amazon🥛 Germination Cup
A basic for germinating and growing fresh and nutritious sprouts in small spaces.
👉 View on Amazon