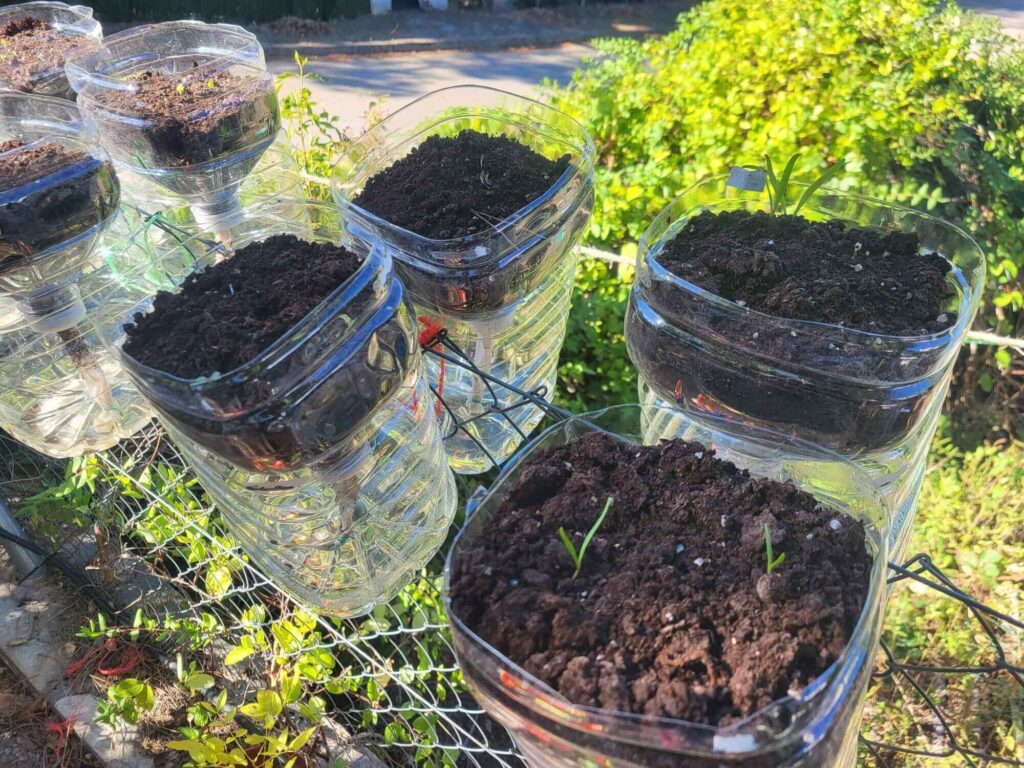
Turning water jugs into planters is a simple and eco-friendly way to recycle plastic and create a self-watering system for your garden or balcony. With just one container, you can save water, maintain more stable humidity, and grow vegetables or herbs even if you have limited space.
That’s why we suggest this idea for recycling some of them. In our case, we use 5 and 8-liter jug-sized bottles, which we either ask people who use them for or collect from the street, to make planters with their own self-watering system. But you can also use 1 or 2-liter bottles, or even smaller ones for seed starting, by following the same steps.
The result will be a planter with an “automatic” watering system that you can hang on your balcony or in your garden.
Materials Needed
- 2 Plastic Bottles, preferably 5 liters or more.
- A Cotton Garment to Recycle.
- Wire.
- A Utility Knife
- A Piece of String/Rope
- Soldering Iron
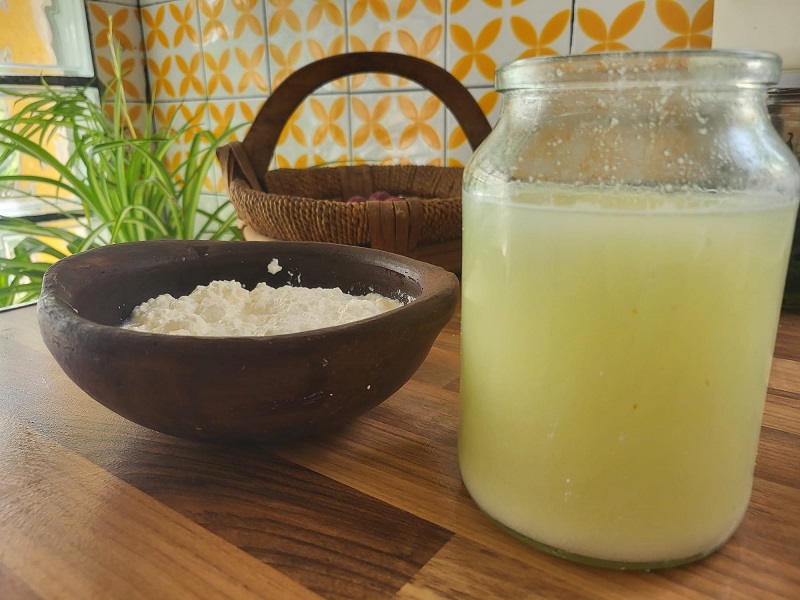
- Soil
Cutting the Bottle
Counting from the cap, cut the bottle at approximately 1/3 of its total height with a utility knife. It’s advisable to quickly burn the edge of both cut parts with a lighter, passing it around the entire perimeter so it doesn’t cut you later when touched.
Set aside the cap, as we’ll use it in the next step.

Creating the Watering System
Step 1: Cutting the Cotton Fabric
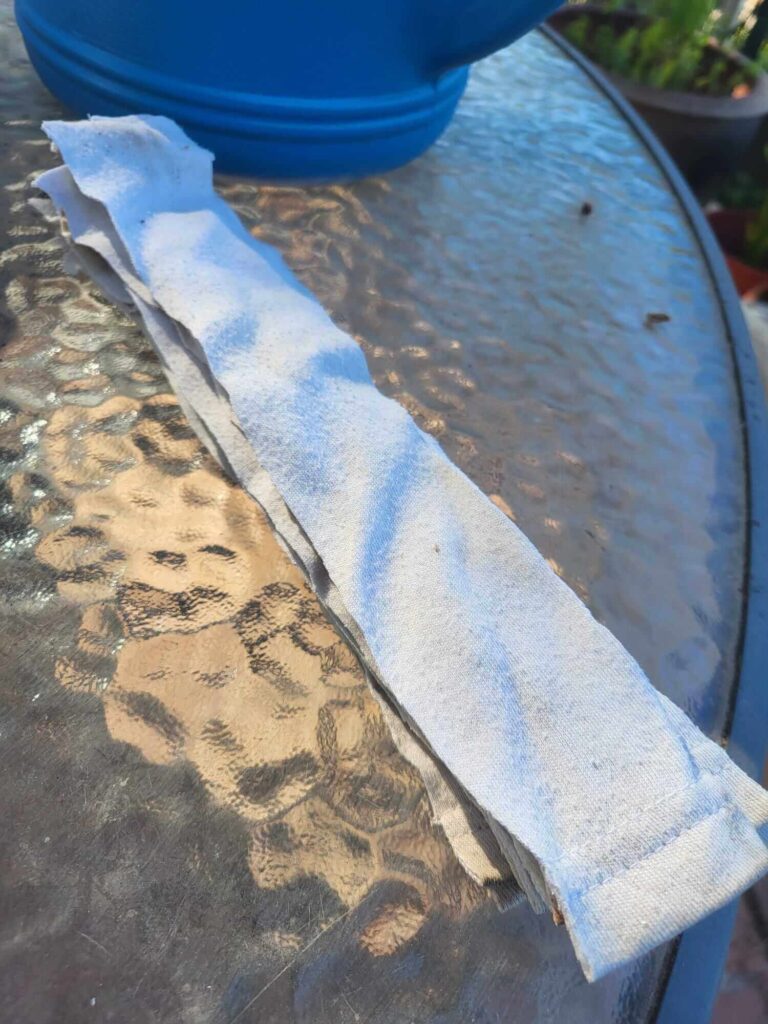
The older the fabric, the better, and try to use white parts, without dyes.
Cut one strip per planter, with a length equal to the height of the bottle you’re using, and a maximum width of 5 centimeters, then set it aside.
Step 2: Cutting the Bottle Caps
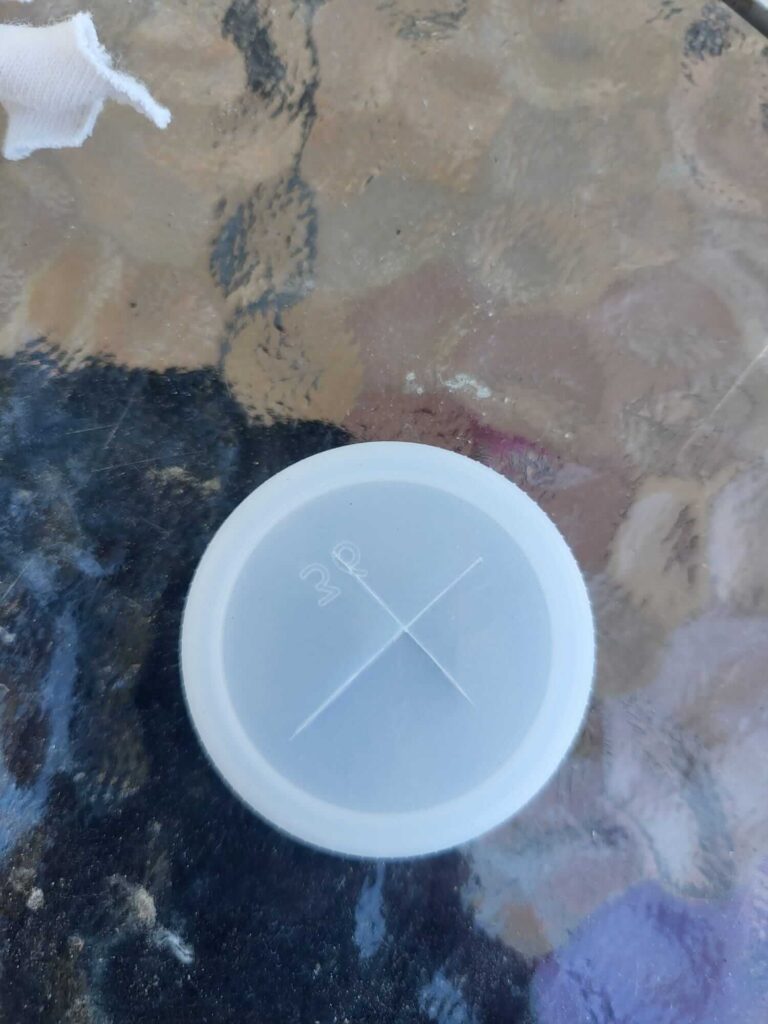
Carefully make a cross cut in the cap with a utility knife.
It’s easier to make the cut if you place the cap face down, as shown in the photo.
Step 3: Preparing the Wire
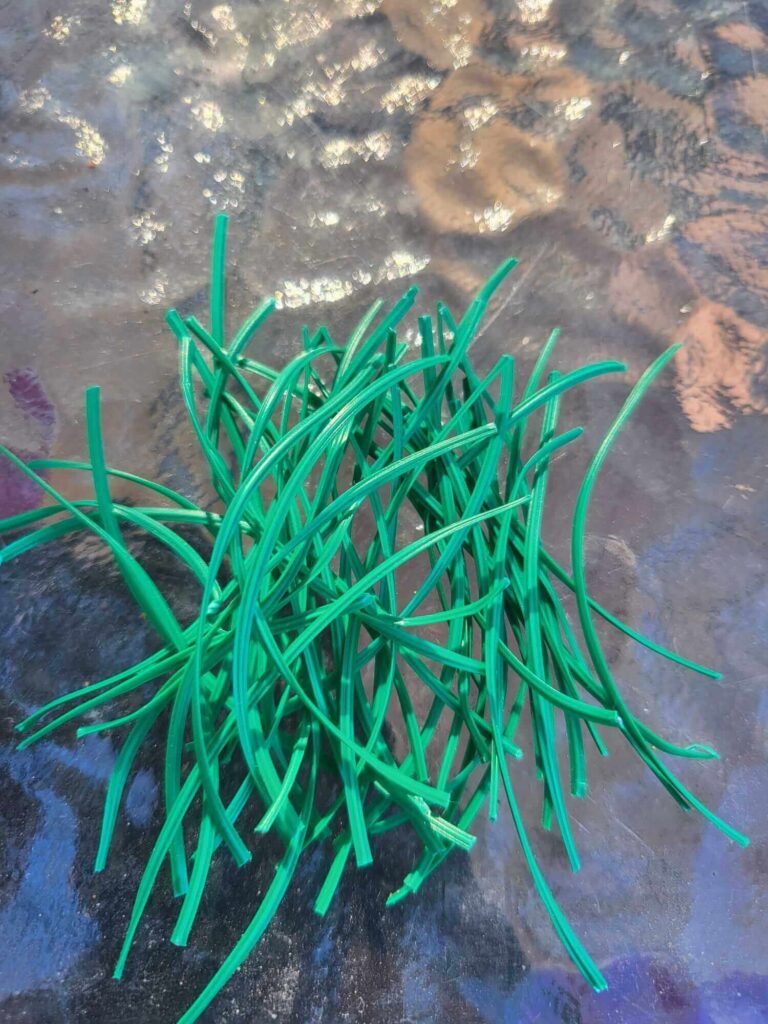
Cut the wire into pieces about 3-4 centimeters long.
We didn’t have any this time, but we usually recycle the wires that seal bread bags.
Step 4: Assembling the Watering System with the 3 Parts
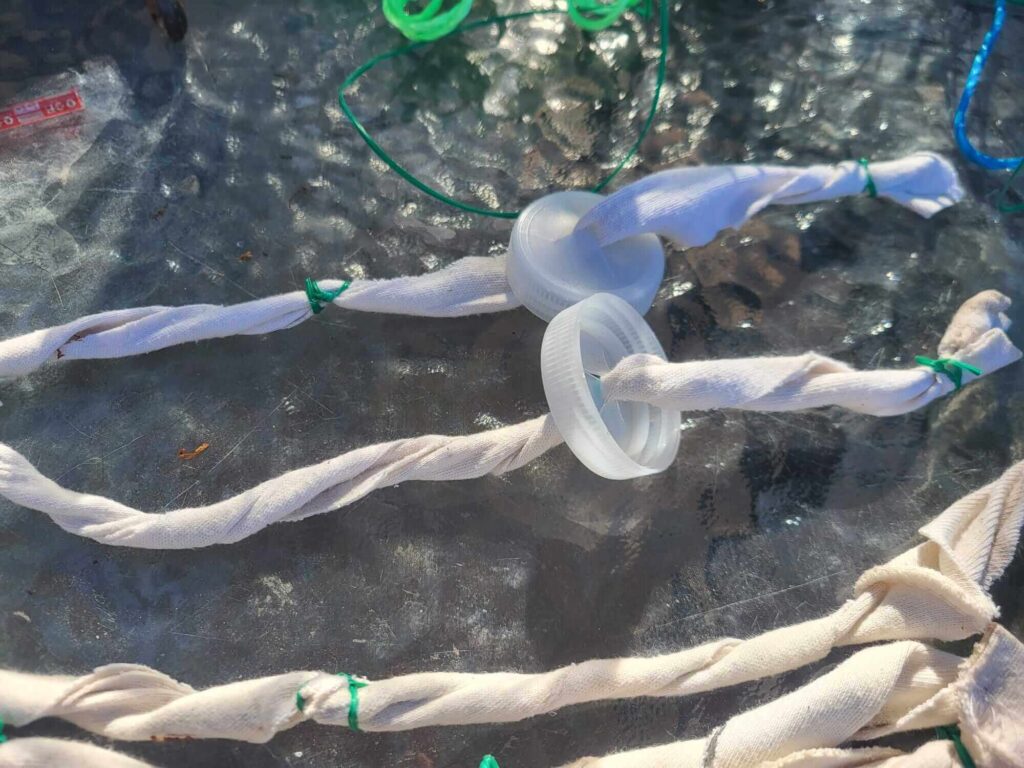
To achieve the look in the photo, roll the cotton into a cylinder, insert it into the cap, and tie it with wire in several places to help it maintain its cylindrical shape. Position the cap approximately halfway along the fabric.
The fabric inside the cap will water the plant, while the fabric outside the cap will collect the water. Ideally, the external part should just touch the bottom of the bottle. Place the cap into the bottle neck as shown in the first photo of this article and adjust the fabric so it lightly touches the bottom of the bottle.
Making the Hanging System
Keep in mind that…
This step is only necessary if you’re going to hang it; if you’re leaving it on the ground, skip to the next step.
Step 1: Making the Holes
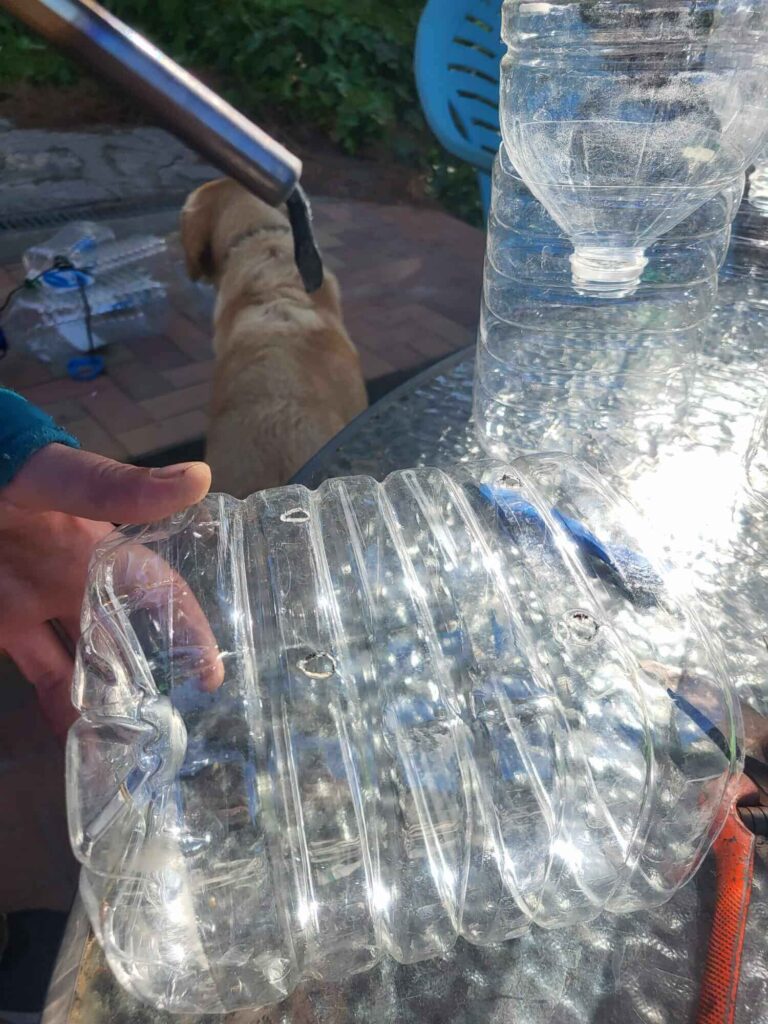
Using a preheated soldering iron, make holes in the bottom part of the bottle, where the water will go. It needs to be very hot; you shouldn’t have to press much at all. It should feel like the bottle is butter – if not, heat the soldering iron for a bit longer.
If you don’t have a soldering iron, heat a pointed piece of metal until it’s very hot. The idea behind doing it this way rather than cutting is that a cut edge will eventually fray or break the rope, whereas with heat, the edge will be smooth.
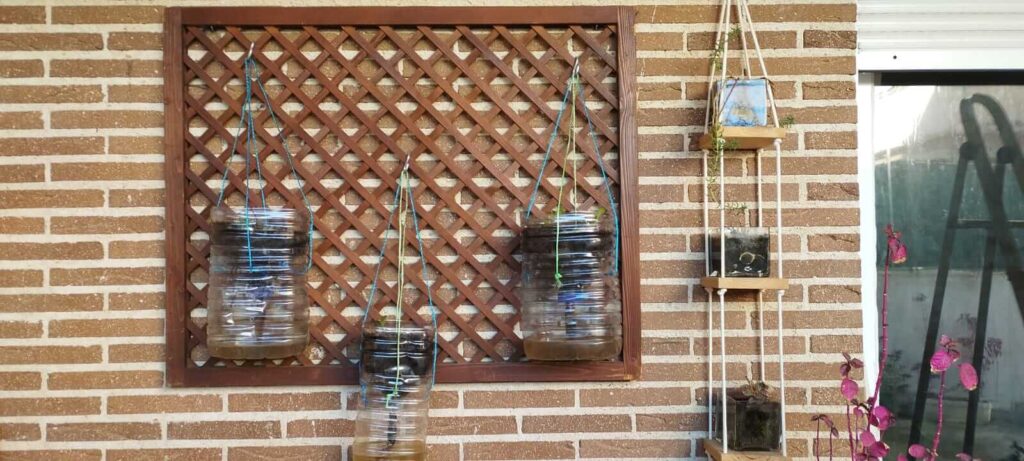
This time, we made the holes in a way that allows us to rest them on a fence. If you’re going to hang them from a hook, make only one hole but on each side of the bottle. The bottom hole will also serve as drainage; otherwise, the reservoir will fill up with rain, potentially waterlogging and rotting the plant.
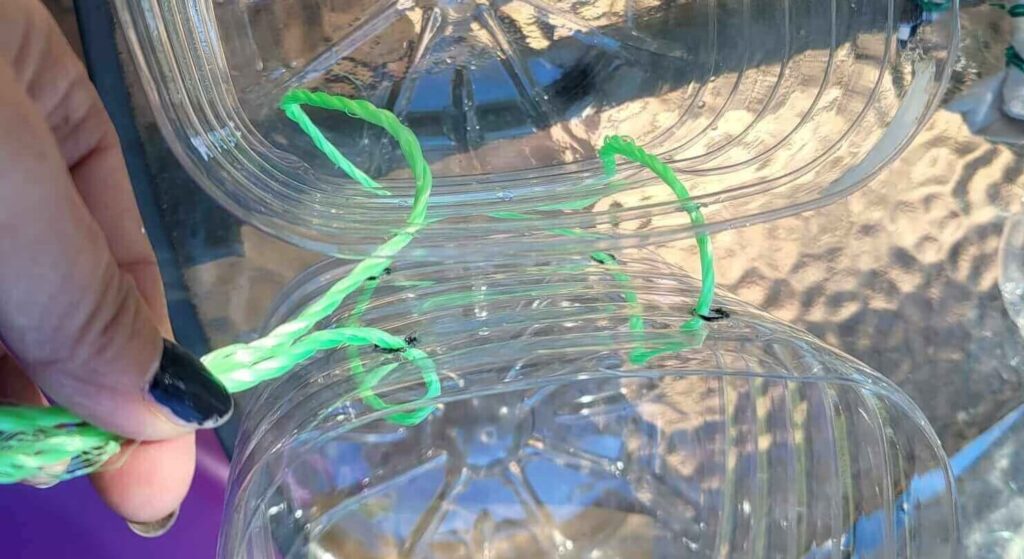
Step 2: Stringing It Up
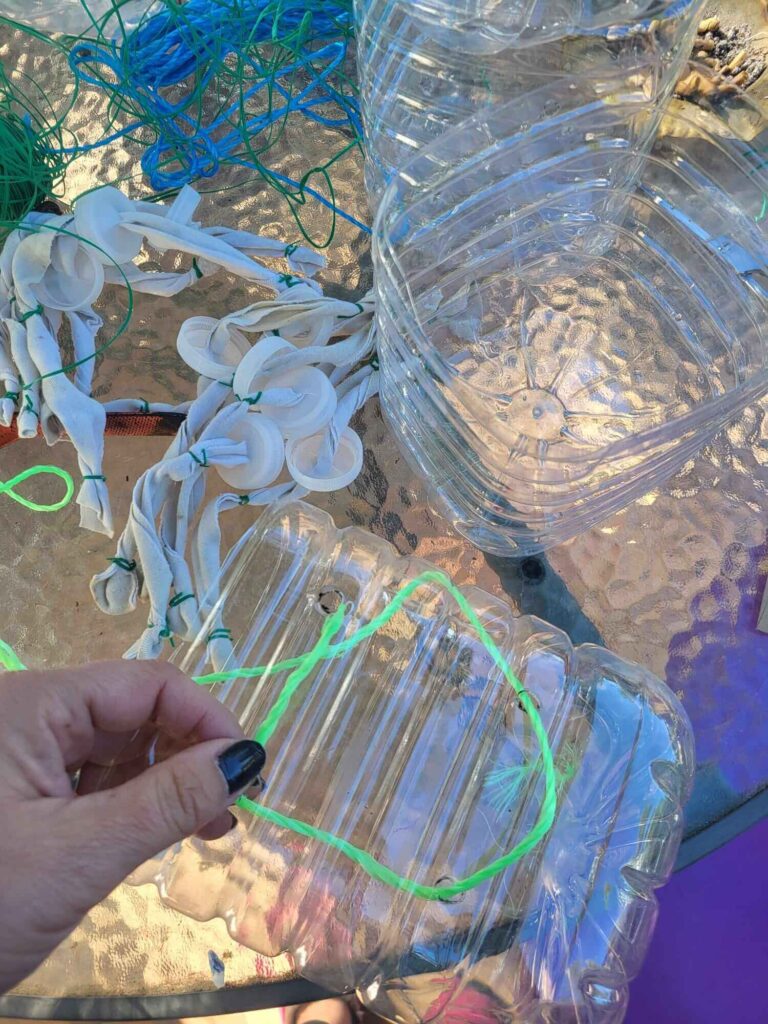
For how we’re going to hang these, we tie them as shown in the photo, so that both ends of the rope exit the bottle outwards, and then we pass them through another bottle in the same way, connecting them to each other.
Then, with the two remaining ends, we tie a knot.
We strongly advise against hanging them on a balcony or anywhere they could pose a danger to someone; the ropes will eventually give way and they could fall on someone. Only use this system if there’s no risk. We’ve hung ours in a section of our garden.
And We Finish Them Up
Step 1: Filling Them with Soil
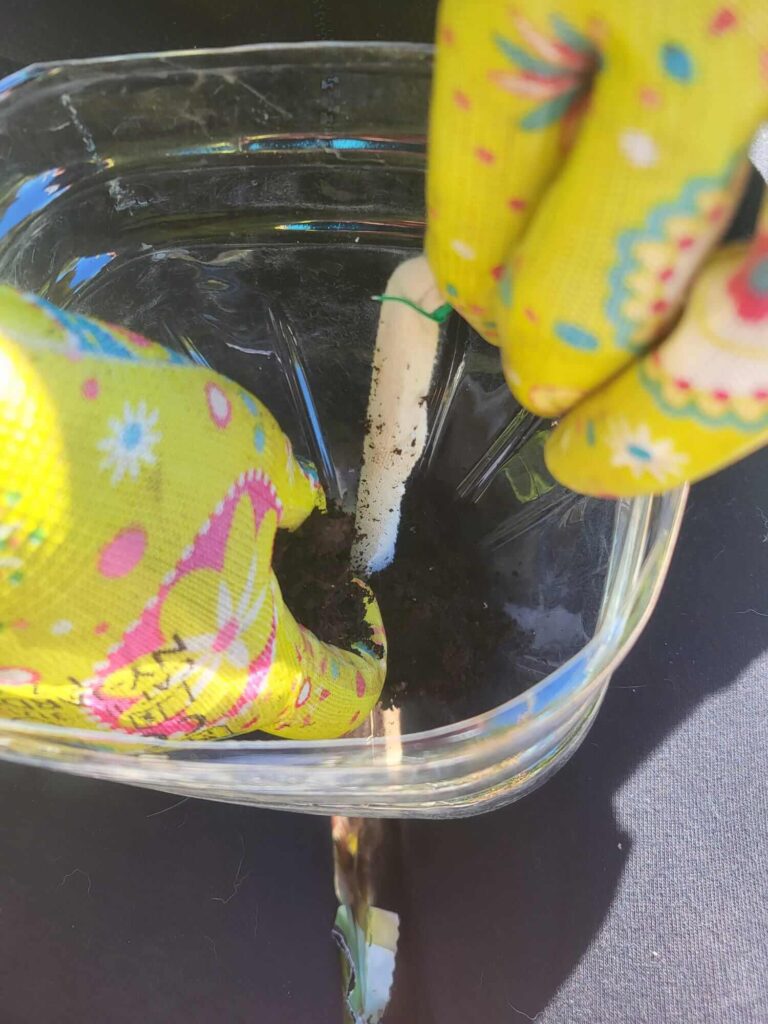
Hold the cotton with one hand, and with the other hand, start filling the planter with substrate. For a more efficient system, arrange the cotton in a spiral, not straight, as this will bother the plant’s roots less and water the entire width of the planter.
Step 2: Attending to Visitors
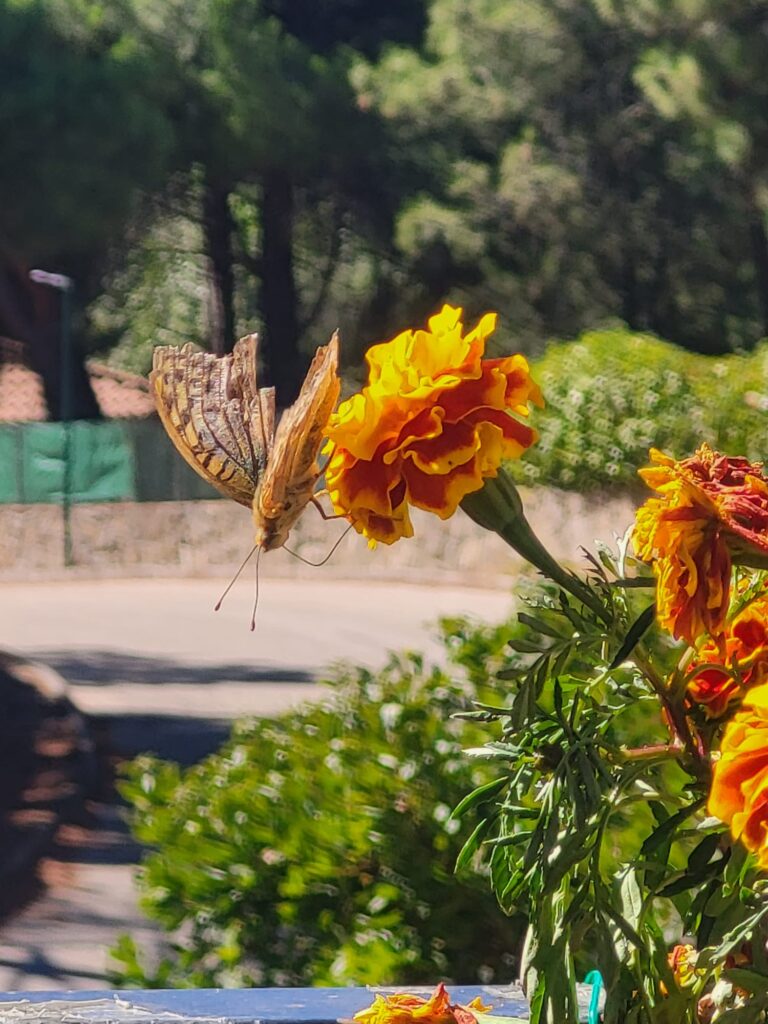
Look who came to visit us while we finished the planters :).
Final Result

Jugs for Hanging
Finally, here’s a photo of some jugs we gave a friend with the hanging system. You’ll notice the difference, especially in where the holes are made and how we placed the ropes. Remember, if you make this one, also make holes up to where you want the water level to rise for proper drainage.
We hope you liked it! However, if you prefer to buy an outdoor planter, you also have these more classic options, as well as other products that can make your work easier:
🪴 Hanging Planter
A basic item for growing plants in small spaces or decorating balconies, terraces, and gardens.
🔪 Utility Knife
Makes clean cuts in plastics, ropes, geotextiles, or garden materials. Practical, safe, and versatile.
Advantages of Using Water Jugs as Planters
Recycled water jugs offer multiple benefits as planters:
- Economical: You reuse containers that would otherwise be discarded.
- Durable: Resistant plastic withstands outdoor conditions for years.
- Large Capacity: 5-8 liters allow for ample root systems.
- Portability: Easy to move according to the season or light needs.
- Sustainable: Reduces plastic waste by giving them a second life.
What Plants to Grow in Water Jugs
These planters are ideal for:
- Vegetables: Tomatoes, peppers, lettuce, spinach
- Aromatic Herbs: Basil, mint, parsley, cilantro
- Ornamental Plants: Geraniums, petunias, begonias
- Strawberries: Perfect for vertical cultivation in jugs.
Frequently Asked Questions
Are plastic water jugs safe for growing food?
Yes, as long as you use food-grade jugs (like those for drinking water). Avoid jugs that have contained chemicals.
How long do planters made from water jugs last?
With proper care, they can last 3-5 years outdoors. Sun exposure can gradually degrade the plastic.
Do I need to paint the water jugs?
It’s not necessary, but painting them light colors helps reflect heat and protect roots in warm climates.
What size drainage holes should I make?
Make 3-5 holes of 0.5-1 cm in the base. Proper drainage is crucial to prevent root rot.