Aromatic plants are a delight for the senses: they add flavor to our meals, beautify our space, and attract beneficial insects. Growing them at home is a very rewarding experience, and if you can also multiply them for free, even better!
Luckily, many of these species are easily propagated from cuttings, a simple and effective technique to expand your collection without needing to buy more plants. In this tutorial, we’ll show you step-by-step how to do it at home.
What Are Cuttings?
Cuttings are stem fragments separated from the mother plant with the aim of generating a complete new plant. When placed in suitable conditions, these stems develop roots and begin to grow independently.
This technique is especially useful for aromatic plants, as it preserves all the characteristics of the original plant and allows us to obtain genetically identical clones. It’s a widely used method in home gardening because it doesn’t require complicated materials and offers quick results with minimal effort.
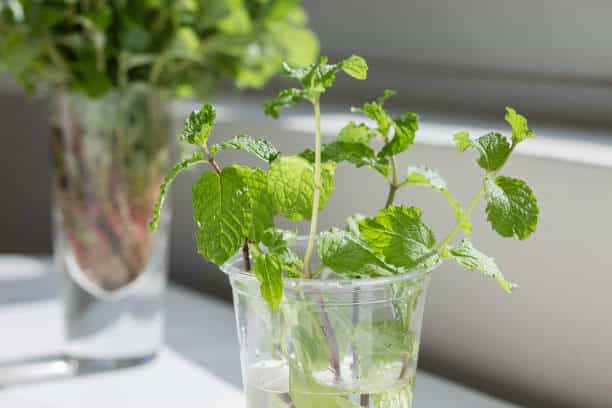
When taking cuttings, they can root in either water or directly in soil, giving us new plants ready to thrive in just a few weeks.
How to Propagate Cuttings
Before You Start
- Find a healthy mother plant. The most recommended plants for taking cuttings are: basil, rosemary, mint, sage, oregano, thyme, and spearmint.
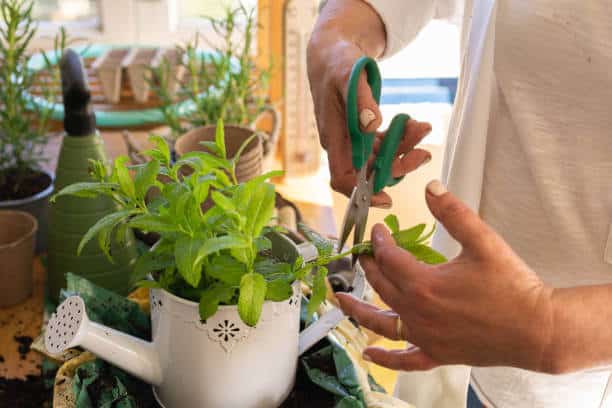
- Have clean, sharp scissors ready, a glass with clean water, or a small pot with light, moist potting mix.
- Optionally, use cinnamon powder to prevent fungal growth.
- Work in a warm, bright spot (without direct sunlight), with a temperature around 20ºC to reduce plant stress.
Step-by-step guide to propagating aromatic plants from cuttings
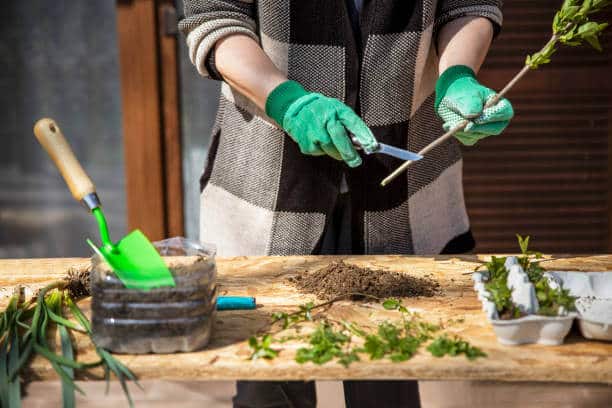
1st Select and cut the right cutting. Choose a healthy, young stem that is about 10 – 15 cm long. It should be flexible, without flowers or signs of disease. Once selected, cut it just below a node (the point where leaves sprout).
2nd Prepare the cutting. Remove the lower leaves from the stem, leaving only those at the top. If there are any flowers, remove them as well, as we want the plant to focus its energy on rooting, not flowering.
3rd Root in water or soil. Place the cutting directly in a glass of water or in a pot with moist soil. If you choose water, change it every 2-3 days to prevent bacteria. If you prefer to place the cuttings in a pot, plant them in a light, moist potting mix, but avoid overwatering. Finally, whether you rooted them in water or soil, place the cuttings in a bright spot without direct sunlight.
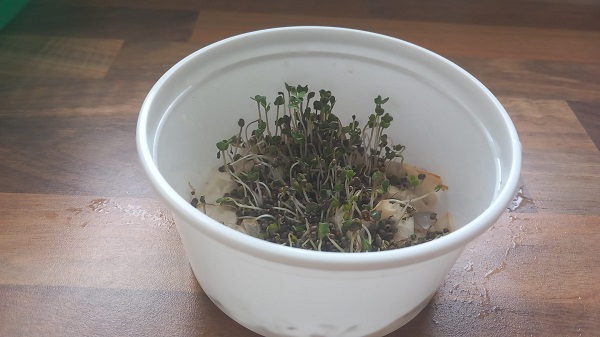
4th Wait for roots to sprout. After 1 – 3 weeks, depending on the plant, you’ll see fine white roots starting to appear. If you placed your cuttings in water, wait until the roots are about 3 – 4 cm long before transplanting. If, on the other hand, you placed them in a pot, you’ll notice them beginning to grow independently.
5th Transplant and care for your new aromatic plant. Once the cutting has good roots, plant it in its permanent spot. Water gently and place it in an area with good indirect light. It will soon start to grow and branch out.

Tips for Successful Cuttings
When working with cuttings, there are some key factors that can make all the difference between success and failure. For example:
- Don’t limit yourself to just one cutting; prepare several at once. This will increase your chances of getting viable plants, as not all of them will develop roots.
- Be patient; some species need more time than others.
- Maintain a balance when watering your cuttings. While they need constant moisture, too much water can cause stem rot at the base. Good ventilation and avoiding waterlogging are essential for a healthy environment.
- Another crucial point is to keep your tools clean and disinfected. This will prevent the transmission of diseases from one plant to another, which is especially important if you’re working with multiple species.
- Finally, remember that every plant is unique. Observe how your cutting responds to the conditions and adjust the location, watering, or substrate type if necessary.
- Most plants will do better if you take cuttings in Autumn or Winter, when they are less active.
Why Choose Propagation from Cuttings?
Propagation from cuttings is not only an accessible and economical technique, but it also offers unique advantages compared to other methods like seed sowing. When you propagate a plant from cuttings, you get a genetically identical copy of the mother plant, which guarantees that your new plant will acquire qualities such as the flavor, aroma, or resistance of the mother plant. This is a very valuable aspect, especially for aromatic plants, where these characteristics can vary from one plant to another.
Furthermore, cuttings usually grow much faster than seedlings, meaning we can enjoy new plants ready for harvest in much less time. And while, as we’ve mentioned, aromatic plants are ideal for this type of propagation, many other plants like lavender, geranium, hydrangea, or pothos also respond very well to rooting from cuttings.
Even some indoor plants like monstera or ficus can be successfully propagated using this technique, opening up a range of possibilities to multiply our favorite plants for free and with a personal touch, adapted to what we already have at home.
Below, we’ve listed some recommended products to help you get started with propagating your plants from cuttings:
✂ Pruning Shears
Cut with precision and cleanliness to get healthy cuttings and facilitate their rooting.
🪴 Cutting Pots
Facilitate root development in cuttings. Ideal size, good drainage, and durable materials.
🧂 Cinnamon Powder
Ideal for preventing fungi and naturally stimulating cutting root development.
Nourish your aromatics: To help your basil and lavender cuttings grow strong, I recommend this COMPO Liquid Fertilizer.
Forget constant watering: Indoor aromatics appreciate consistent moisture. These Self-watering Pots are perfect for your kitchen or balcony.