Aloe Vera (Sábila) is probably the world’s most famous plant for its medicinal and cosmetic properties. Having an Aloe plant at home isn’t just about decoration; it’s like having a natural first aid kit for burns, cuts, and skin care.
However, despite its reputation as an “easy” plant, many Aloe Vera plants die due to excessive pampering or a lack of understanding of their needs as a succulent. In this guide, you’ll learn how to keep yours in perfect condition.
Types of Aloe: Which is the true Aloe Vera?
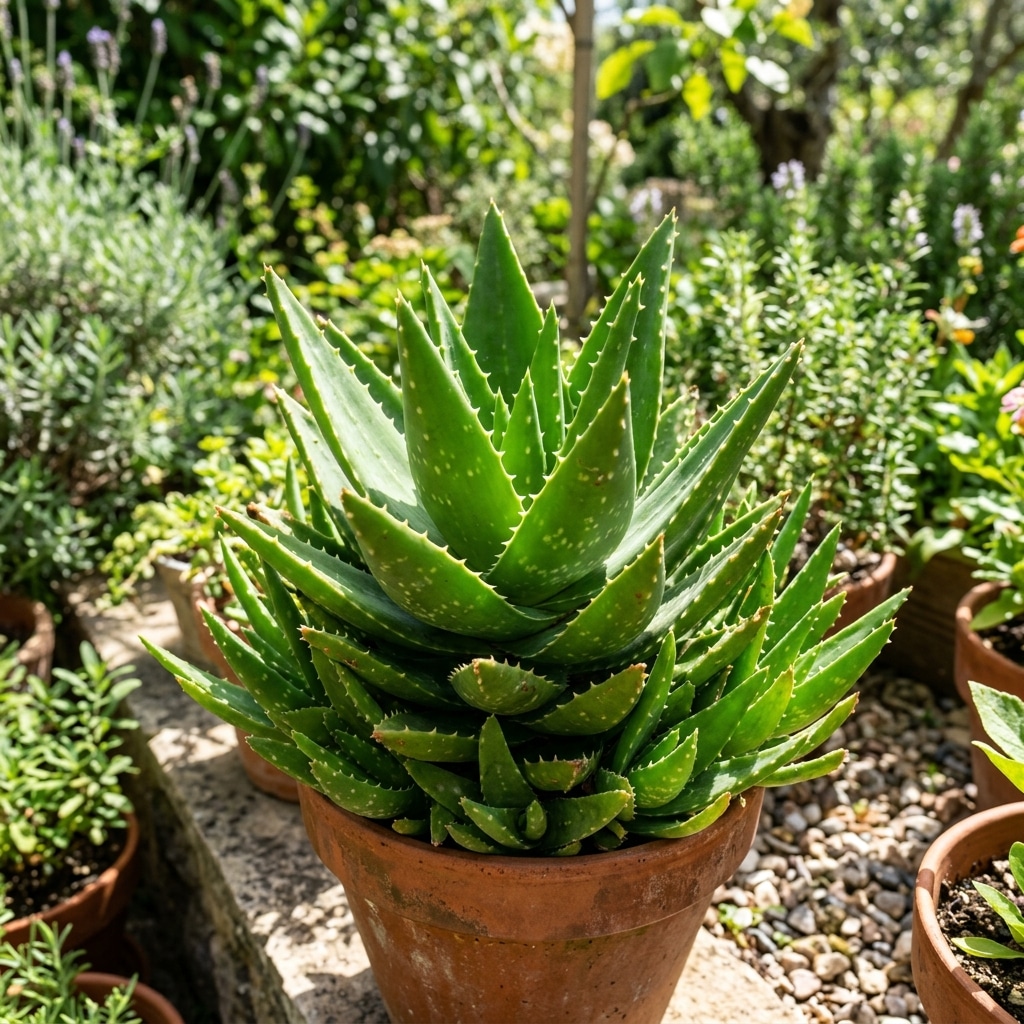
There are over 500 species of Aloe, but the one we’re interested in for its properties is Aloe barbadensis Miller.
– How to identify it: Its leaves are fleshy, with soft spines along the edges, and it often has small white spots when the plant is young (which disappear as it matures). Its flowers are yellow (other Aloe species have red or orange flowers).

Essential Aloe Vera Care
1. Location and Light: A Sun Lover!
Aloe Vera needs plenty of light to prevent its leaves from becoming thin and weak.
– Outdoors: This is its ideal location. It tolerates direct sun, although in extremely hot climates, it appreciates a bit of shade during the hottest part of the day.
– Indoors: Place it in the brightest room in the house, right next to a window. If you notice its leaves bending downwards, it’s not getting enough light.
2. Watering: The Biggest Danger
As a true succulent, Aloe Vera stores water in its leaves.
– Golden Rule: The soil must be dry all the way to the bottom before you water again.
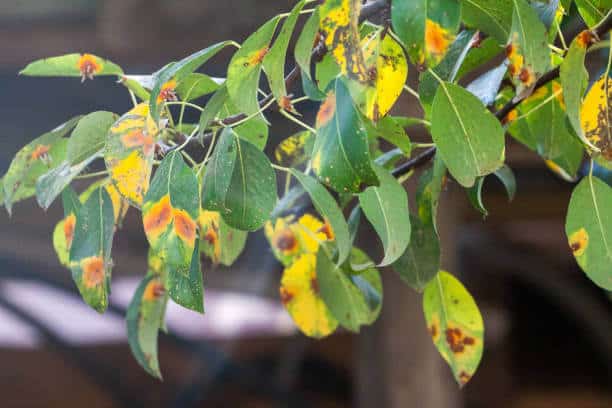
– Danger: If the leaves are soft, brown, or falling off, you have an overwatering problem (rot). It’s always better for the leaves to look a little wrinkled (lack of water) than to be soft.
3. Soil and Pot
– Use a specific soil mix for cacti and succulents that is very porous.
– Aloe Vera has a shallow root system, so it prefers wide, rather than deep, pots.
– Clay or terracotta pots are ideal because they allow moisture to evaporate better than plastic ones.
How to Extract and Use Aloe Vera Gel
To reap its benefits, you should wait until the plant is mature (at least 3 years old).
1. Cut: Cut one of the outer leaves (the oldest ones). Cut close to the base.
2. Drain aloins: Place the leaf vertically in a glass for 15-20 minutes. You’ll see a yellowish liquid (aloins) drain out. This is an irritant and should be discarded.
3. Extraction: Trim off the spiny edges and split the leaf in half. Scrape out the clear gel with a spoon.
4. Use: Apply it directly to the skin to soothe sunburns, insect bites, or moisturize your face.
Aloe Vera Pups: How to Multiply Your Plant
Aloe Vera is very generous. A healthy plant will soon start producing “pups” (offsets) around its base.
– Wait until the pup is about 10-15 cm (4-6 inches) tall.
– Carefully separate it from the mother plant, trying to get part of its own root system.
– Let it dry in the shade for 2 days to allow the cut to callus, then plant it in a new pot. Do not water it for about a week.
Common Problems and Solutions
– Brown Leaves: If the plant is in direct sun, it might be a natural “tan.” If they’re soft, it’s overwatering.
– Thin, Stretched Leaves: Lack of light (etiolation).
– Black Spots: Fungus due to excessive humidity or extreme cold.
Frequently Asked Questions (FAQ)
Is Aloe Vera edible?
While the gel is edible, great care must be taken to remove all aloins (the yellow part), as it is a very potent laxative and can be toxic in large quantities. Always consult a professional before consuming it.
What do I do if my Aloe has a flower stalk?
Enjoy it! It’s a sign that your plant is happy and healthy. It doesn’t interfere with the gel, although the plant does use energy for flowering.