The use of plastic packaging is a big problem for the environment, as each one of them will take between 100 and 1,000 years to decompose completely, leaving the management of our waste to the next generations.
Therefore, we propose this idea to recycle some of them, in this case, we use the 5 and 8 liter bottles, which we ask people who use them or collect them from the street, to make pots with their own irrigation system. But you can also use 1 or 2 liter bottles, even the small ones to make seedbeds, following the same steps.
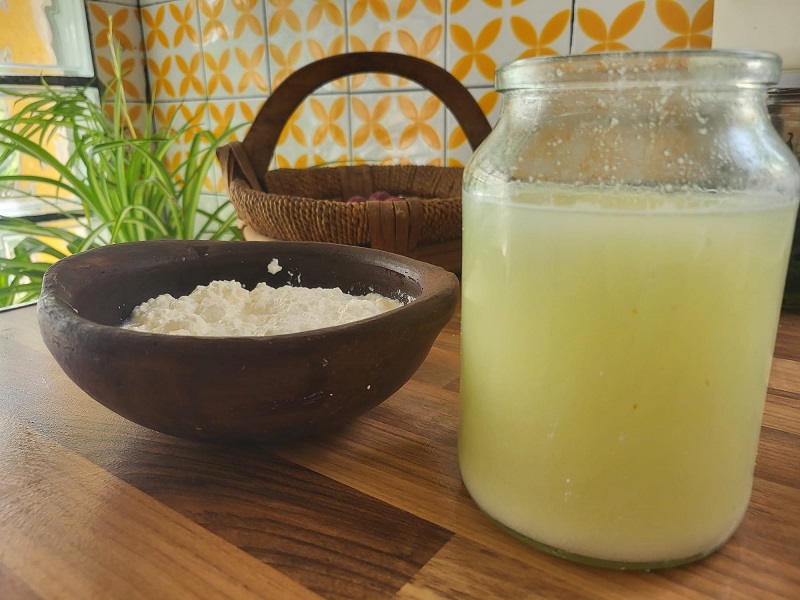
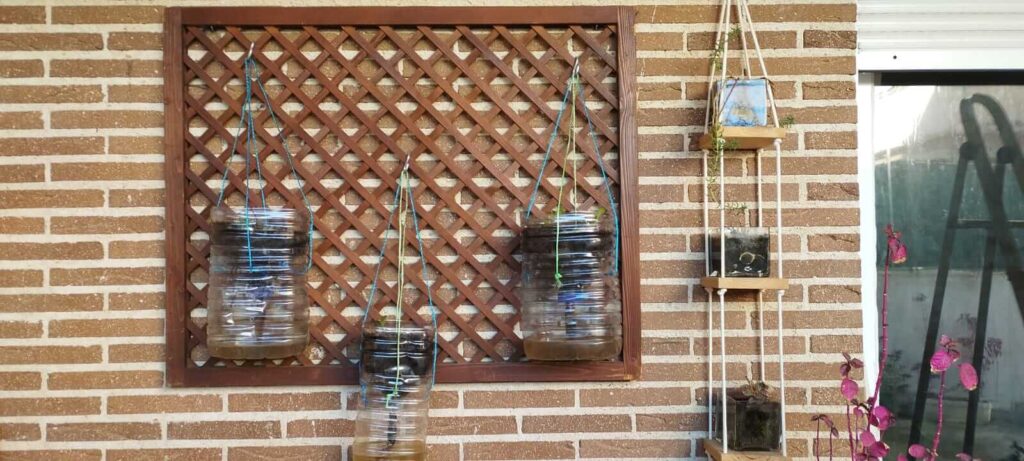
The result will be a pot with an “automatic” watering system that we can hang on our balcony or garden.
Necessary elements
- 2 plastic bottles, preferably of 5 liters or more.
- A Cotton Garment to Recycle.
- Wire.
- A Cutter
- A piece of rope
- Welder
- Earth
We cut the Bottle
Counting from the stopper, cut the bottle to about 1/3 of its total height with a cutter. It is advisable to burn the edge of the two cut parts with a lighter, passing it quickly around the perimeter so that it does not cut us later when we touch it.
We reserve the cap, since we will use it in the next step.

We make the irrigation system
Step 1: Cut the cotton fabric
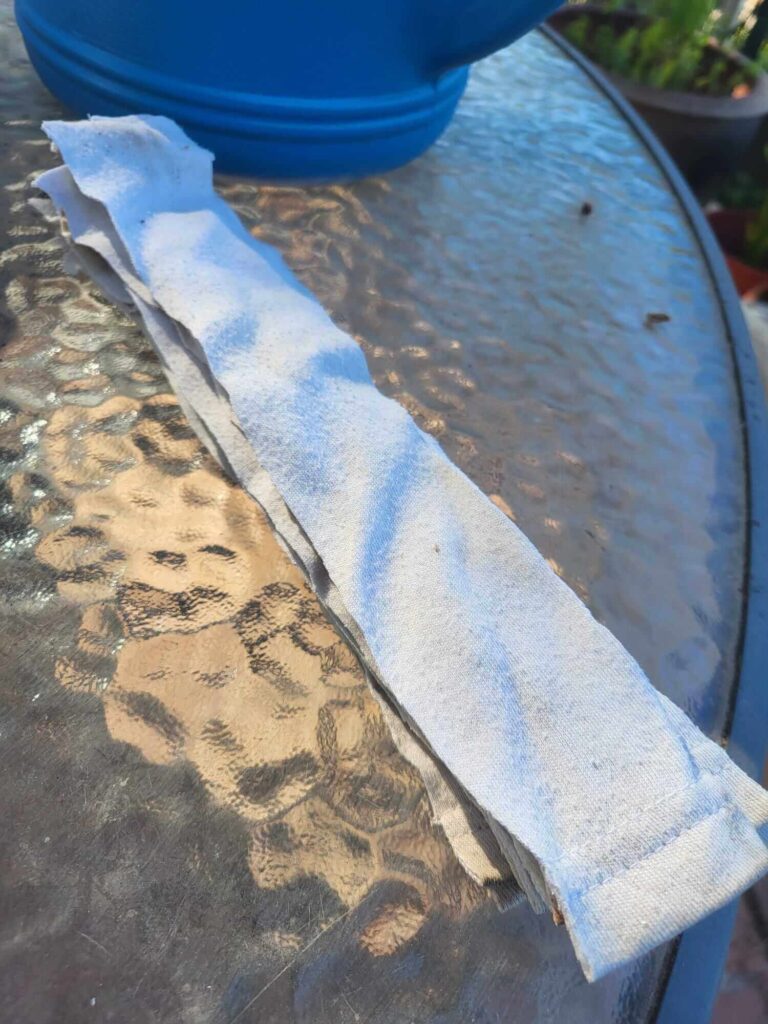
The fabric, the older the better, and we try to take white parts, without dyes.
Cut one per pot, of a length of the height of the bottle you are using, and a maximum width of 5 centimeters, and set aside.
Step 2: Cut off the bottle caps
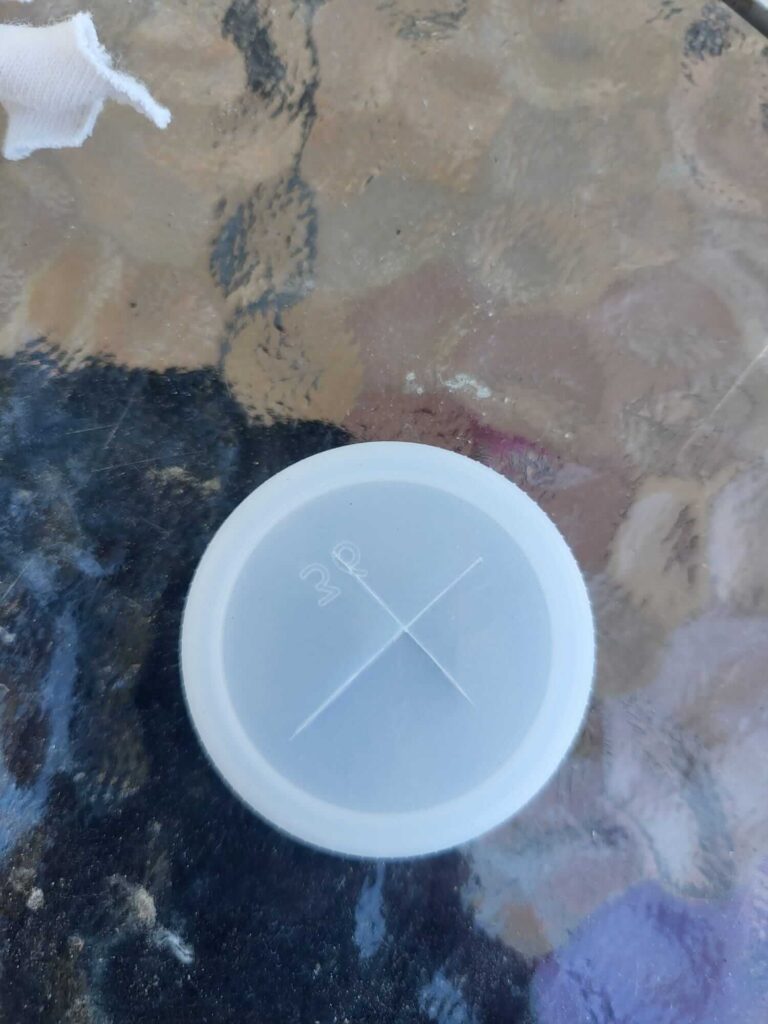
With a cutter and with great care, we make a cross in the cap.
It is easier to make the cut if we put the cap downwards, as in the photo.
Step 3: Prepare the wire
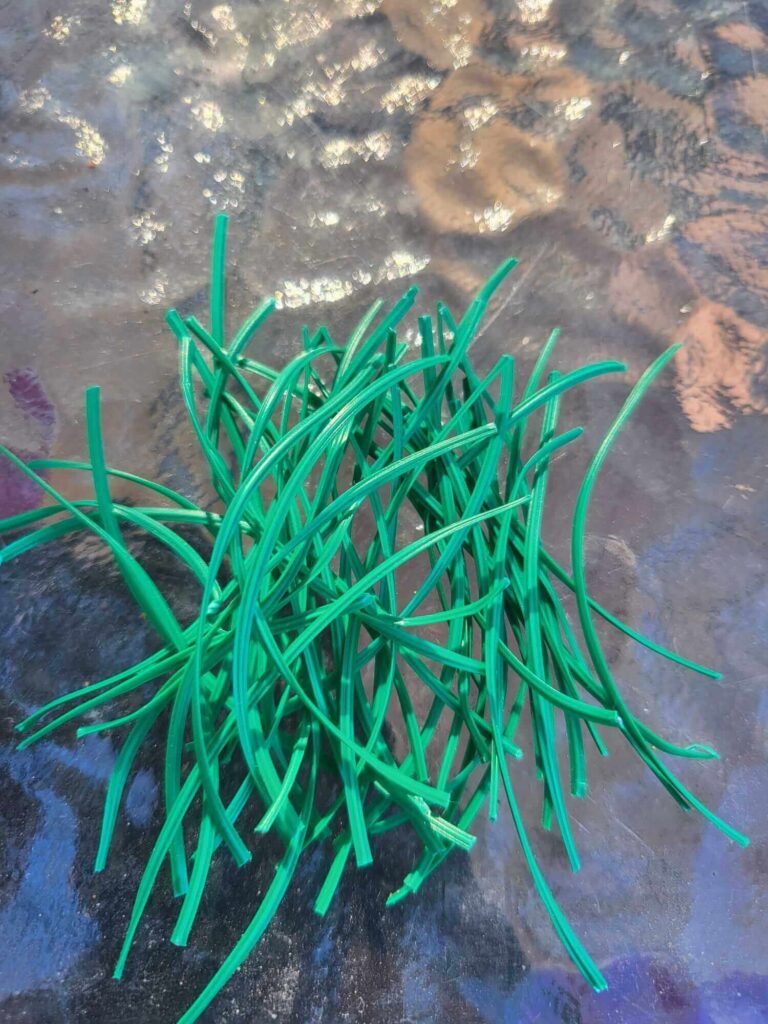
We cut the wire in pieces of about 3-4 centimeters.
This time we didn’t have any, but we usually recycle the wires that close the packages of sliced bread.
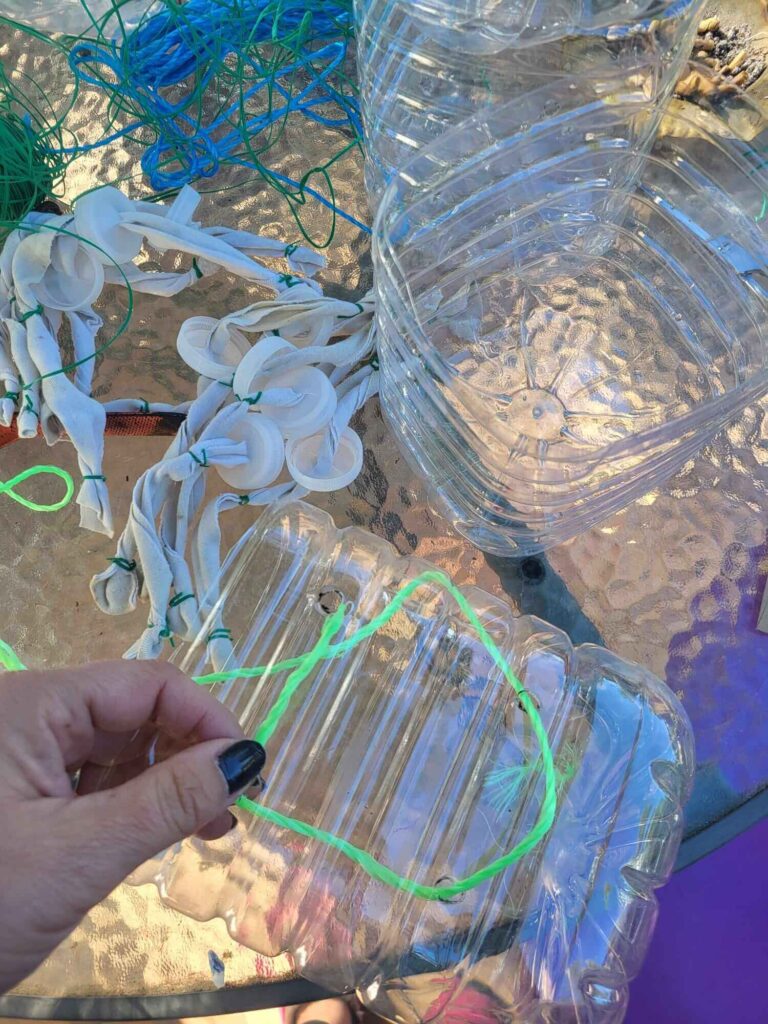
Step 4: We create the irrigation system with the 3 parts
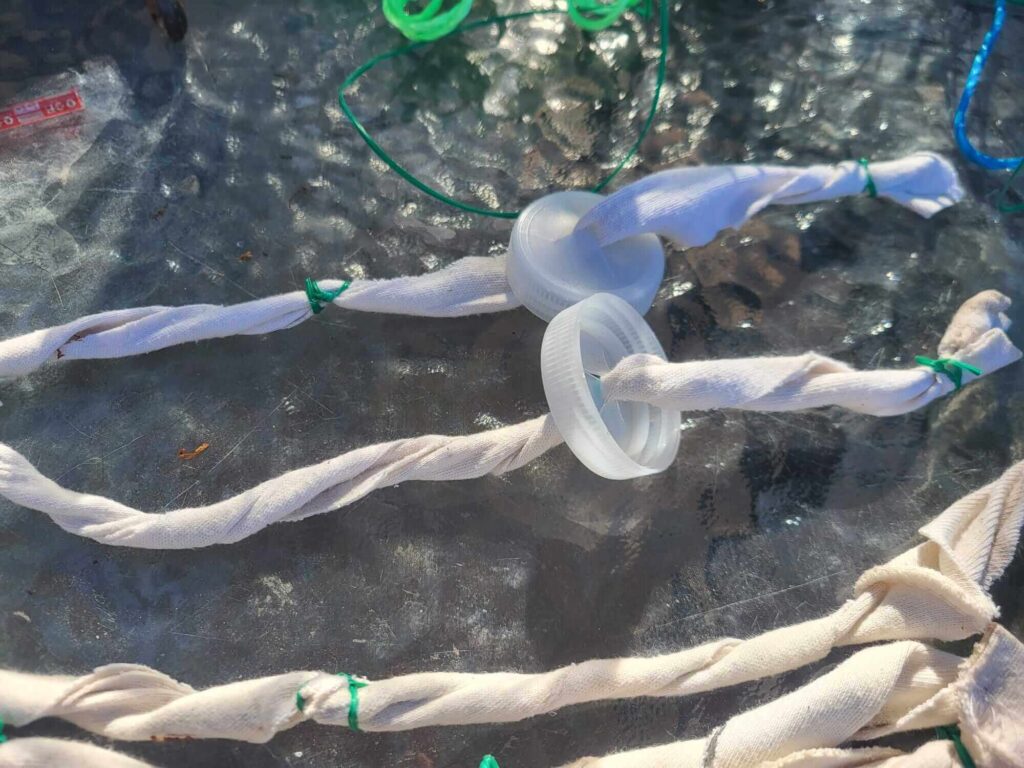
To make it look like in the picture, roll the cotton into a cylinder, insert it into the plug and tie it with the wire in several places to keep the cylindrical shape. Leave the stopper about halfway up the fabric.
The cloth on the inside of the cap will water the plant, while the cloth on the outside of the cap will collect the water. Ideally, the outer part should be just touching the bottom of the bottle. Place the stopper on the neck of the bottle as shown in the first photo of this article and adjust the fabric so that it lightly touches the bottom of the bottle.
We make the system to hang it
Please note that….
This step is only necessary if you are going to hang it, if you are going to leave it on the floor go to the next step.
Step 1: We make the holes
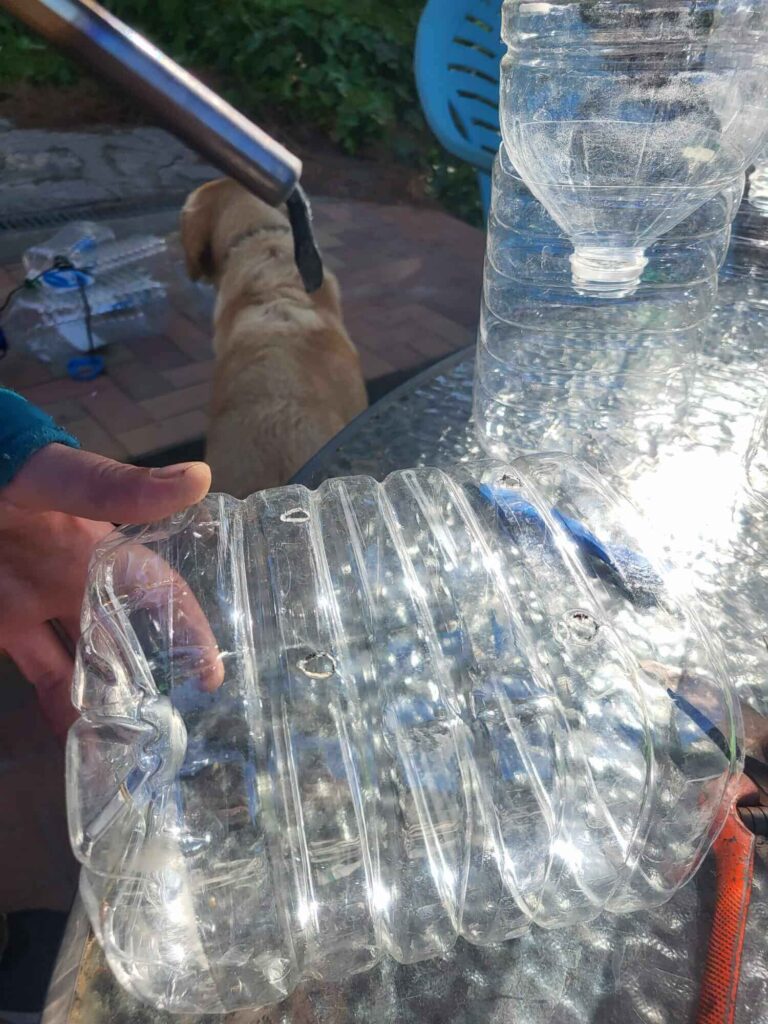
With a previously heated soldering iron, we make the holes in the lower part of the bottle, where the water will go. It has to be very hot, we do not have to press almost nothing. We must have the sensation that the bottle looks like butter, if not, heat the soldering iron for another while.
If we do not have a soldering iron, we heat a pointed iron until it is very hot. The idea of doing it this way and not cutting is that with a cut, the edge that remains will end up splitting the rope, however with heat the edge will be smooth.
This time we made the holes so that we will support them on a fence. If you are going to hang them from a hook, make only one hole but for each side of the bottle. The lower hole will also serve as drainage, since the rain will fill the tank and if we do not make drainage, it will flood the plant, which could rot it.
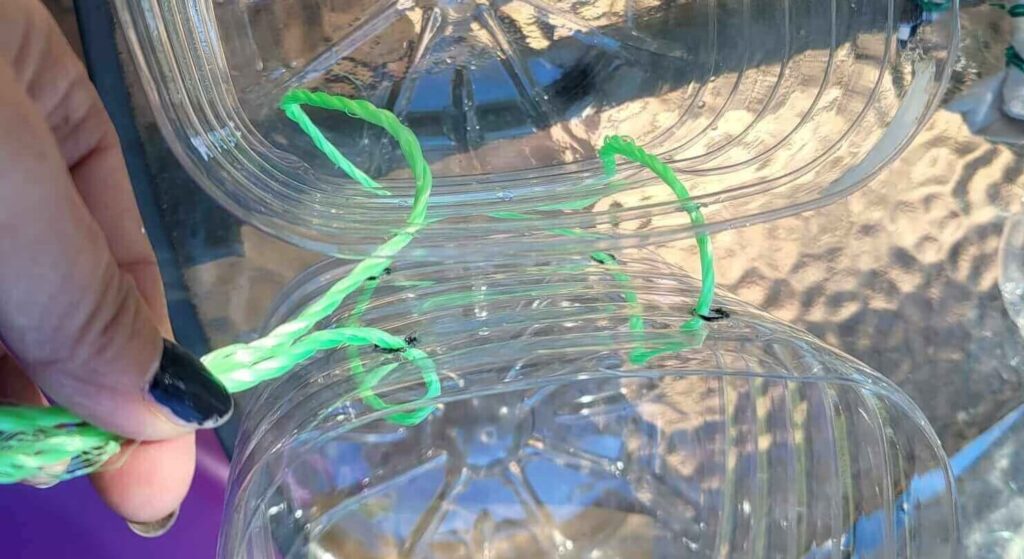
Step 2: Stringing
For how we are going to hang these, we tie them as in the photo, so that the two ends of the rope come out of the bottle outwards, and we pass them through another bottle making the same shape, joining them together.
Then, with the two remaining ends, we tie a knot.
We do not recommend in any case that you hang them on a balcony or where there may be danger of hurting someone, the ropes will eventually give way and may fall on someone. Use this system only if there is no danger. We have hung them in a partition in our garden.
And we finish them
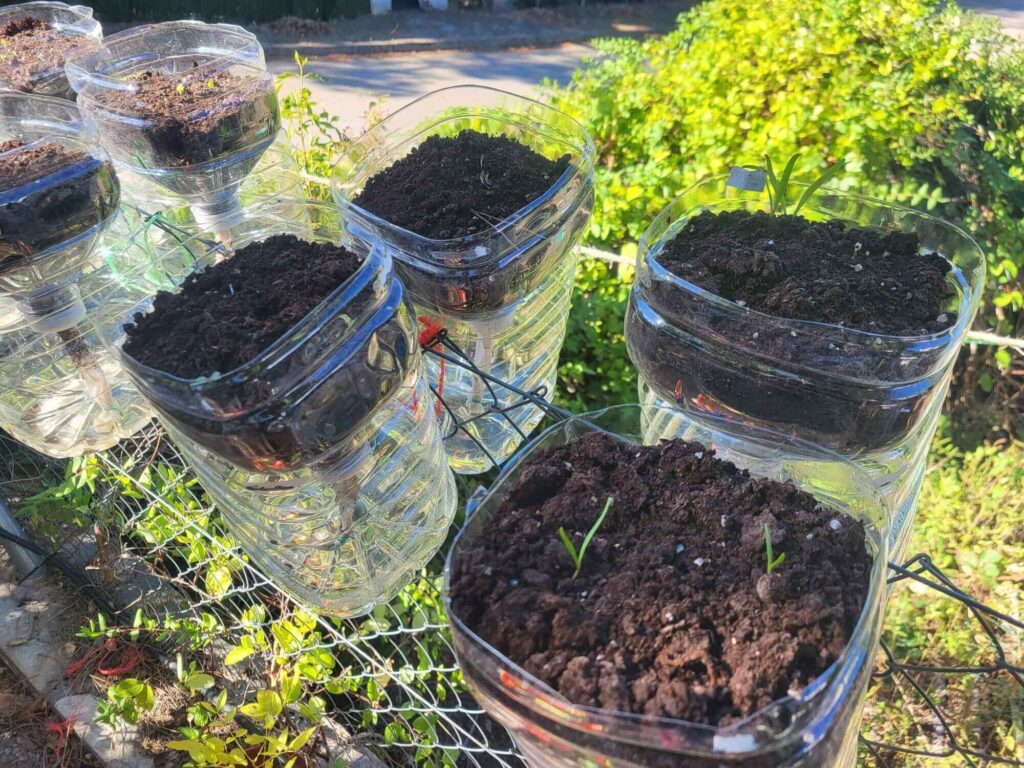
Step 1: Fill with soil
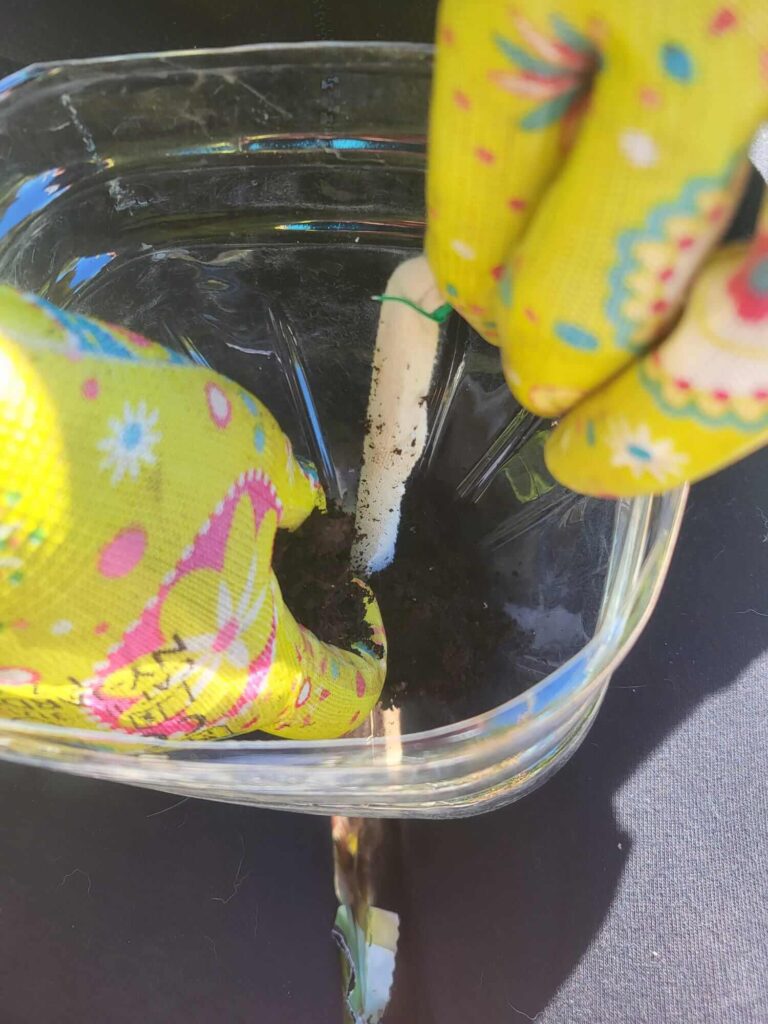
We hold the cotton with one hand, and with the other hand we fill the pot with substrate. So that the system is more efficient, leave the cotton in spiral, not straight, since this way it will bother less to the roots of the plant and it will water the whole width of the pot.
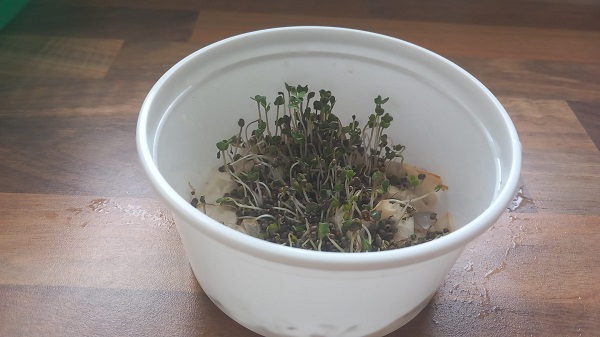
Step 2: We attend to visitors
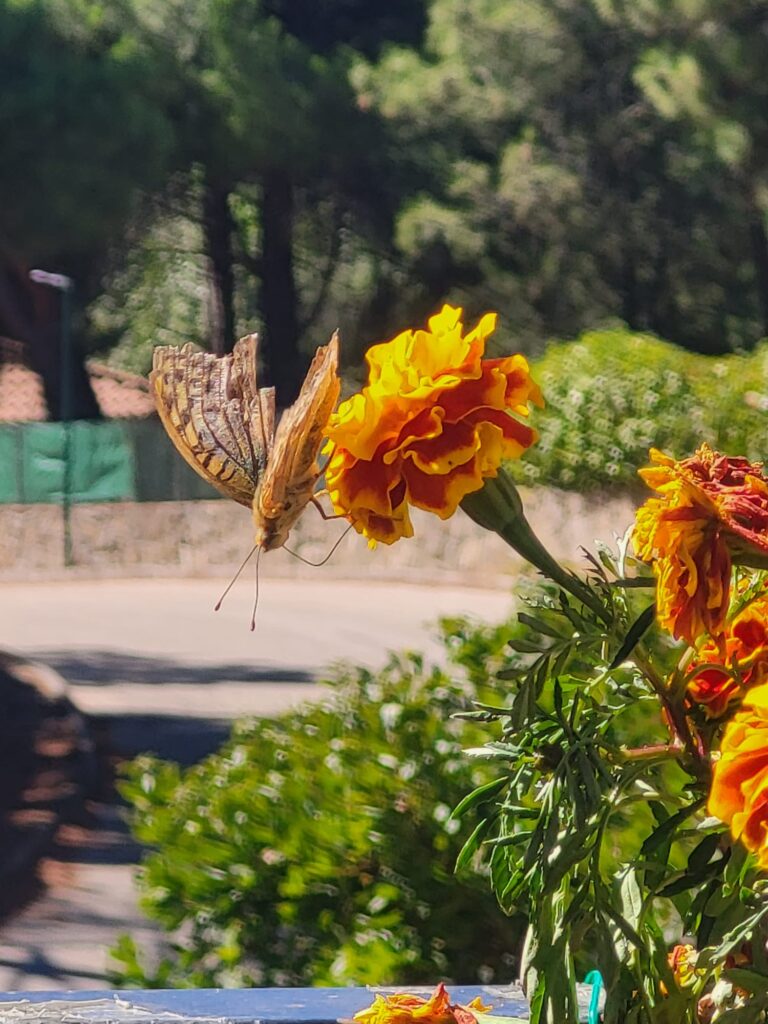
Look who came to see us while we finished the pots :).
Final Result

Hanging drums
Finally we leave you a photo of some drums that we gave to a friend with the hanging system, you will see the difference especially where the holes are made and how we put the ropes. Remember if you do this also make holes up to where you want the water level to rise for drainage.
We hope you liked it, however if you prefer to buy an outdoor planter you also have these more classic options, as well as other products that can make your work easier:
🪴 Hanging flower pot
A basic for growing plants in small spaces or decorating balconies, terraces and gardens.
👉 View on Amazon🔪 Cutter
Makes clean cuts in plastics, ropes, geotextiles or garden materials. Practical, safe and versatile.
👉 View on Amazon