In this post, we’ll show you how to use seeds from your plants (as long as the plant is edible) to make your own sprouts. They’re a highly nutritious food and, for vegetarian/vegan diets, a great source of plant-based protein.
You only need to exercise one caution: if you see mold in the container, do not consume it under any circumstances. Discard all the sprouts, wash the container, and prepare another batch. If you’re using the same type of seed, use less water this time.
What You’ll Need
- 2 plastic containers (tupperware), not completely transparent. We reuse containers from Chinese restaurants.
- Paper Towels
- Seeds from edible plants
- Water
Nutritional Properties of Seed Sprouts
A plant seed contains a large amount of carbohydrates, which serve as an energy reserve for the future plant to grow before it develops roots. When the plant sprouts, it converts these carbohydrates into a multitude of healthy components, such as:
- Plant-based protein with a balanced amino acid profile.
- Dietary fiber, which aids digestive processes and regulates blood sugar levels.
- Antioxidants
- Vitamins C, K, A, and several from the B group.
- Of course, their caloric contribution is almost negligible.
Obviously, the quantities of each compound vary greatly depending on the plant you are sprouting.
Steps to Prepare Seed Sprouts
Let’s look at how to make sprouts step by step. You’ll see it’s a very simple and quick process.
Step 1: Prepare the Container
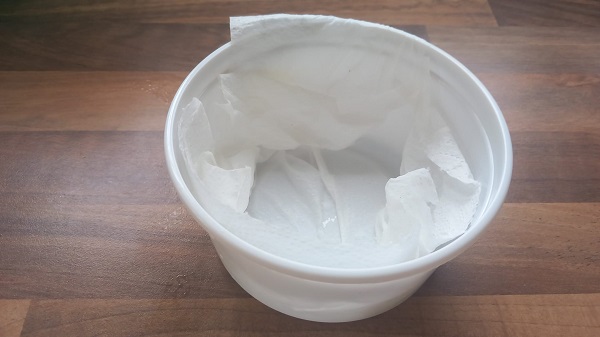
Take a clean plastic container and a piece of paper towel.
Place the paper towel in the container so that it covers the inside.
Using a spray bottle or a little water in your hand, moisten the paper towel so the seeds have water to sprout.
Some seeds need more water than others; for example, lentils need more, while quinoa needs very little.
Step 2: Fill the Container with Seeds
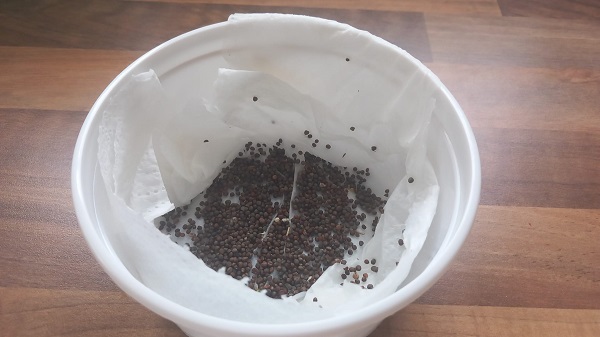
Spread the seeds in a thin layer, covering a good portion of the container.
The seeds must touch the moist paper towel to germinate.
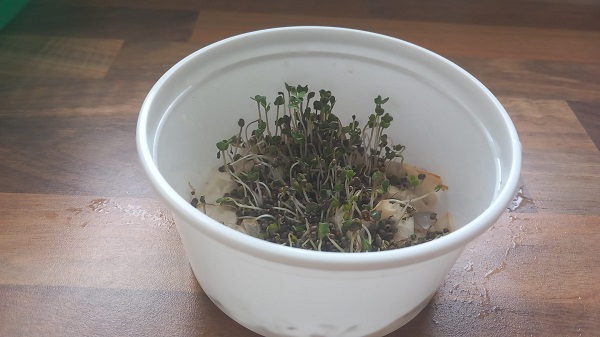
This time, we’ve used seeds from our Galician Collard Greens, but we’ve also used Lentils, Quinoa, Mustard… on other occasions.
Any small, edible plant seed is suitable for sprouting.
Step 3: Cover the Container with Another
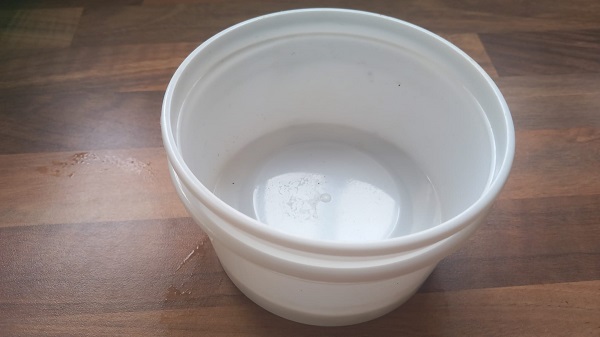
Choose an identical container and cover it. You can even make a stack of containers; it’s fine as long as the top one is empty. The purpose of this is twofold: to maintain higher humidity and to block out light.
Seeds germinate better without light, so place them in a dark, warm spot.
Leave them there for 2-3 days. You’ll know they’ve germinated because they will have lifted the top container.
Step 4: Maintain the Seedlings Until Consumption
Once the little plants have lifted the top container, uncover them and place them in a spot with light, but not direct sunlight, as the plants have very little root system and would dehydrate and die.
Water them daily with a spray bottle or by sprinkling a few drops of water with your hand. The little plants will last for several days and continue to grow.
When you’re ready to consume them, snip them with scissors from the base of the plant, being careful not to pick up any paper or seeds.
Now that you know how to grow microgreens, here are some recommendations that we think might be useful for you:
🌿 Microgreens Seeds
Grow microgreens easily and quickly, adding freshness and nutrients to your meals.
🥛 Sprouting Jar
An essential for sprouting and growing fresh, nutritious sprouts in small spaces.