Do you want to nourish your soil naturally, quickly and without bad odors? Bokashi is an excellent alternative for those looking to enrich their crops with an ecological, living fertilizer full of beneficial microorganisms.
This fermented preparation, originally from Japan, accelerates the decomposition of organic matter thanks to the action of efficient microorganisms (EM), improving the soil structure, its biodiversity and the health of your plants. It is faster, can be prepared in small spaces and is particularly suitable for those who want a more fertile garden without resorting to industrial products.
In this post we explain how to do it step by step, with accessible materials and from a 100% sustainable perspective.
What is Bokashi?
Bokashi is a fermented organic fertilizer that comes from a Japanese technique inspired by the principles of natural agriculture. Unlike traditional compost, it is made through a process of anaerobic fermentation, which allows to better conserve nutrients and multiply the presence of beneficial microorganisms in the soil.
Its main advantage is that it is quick to prepare, rich in microbial life, excellent for regenerating soils, improving water retention and strengthening the immune system of plants. In addition, its production process does not produce bad odors and allows the reuse of organic waste that would normally end up in the garbage.
Uses of Bokashi
This preparation is a real ally for any garden or orchard that wants to bet on the natural and regenerative. Thanks to its richness in nutrients and live microorganisms, it has multiple uses that can make a big difference in the health of your plants and soils:
- Fertilizer for all types of crops: You can apply it directly on the soil to feed your plants in a balanced way. It is ideal for vegetables, fruit trees, aromatic plants or flowers.
- Soil revitalizer: If you have depleted or lifeless soil, bokashi helps to regenerate it, increasing its fertility, its structure and its capacity to retain water.
- Compost accelerator: If mixed with your homemade compost, it accelerates the decomposition process and improves the final quality of the compost.
- Reinforcement for transplanting: Adding a little bokashi to the planting hole helps the roots adapt better and suffer less stress.
- Organic waste odor corrector: By fermenting organic matter, bokashi reduces bad odors, which makes it very useful for home composting.
How to Prepare
Preparing bokashi at home is easier than it seems, we just need to gather some organic materials, have patience and let the microorganisms do their job. As we have already mentioned, the process is based on anaerobic fermentation, that is, without oxygen, which allows transforming organic waste into a rich, balanced and full of life compost in just a few weeks.
Here’s what you need and how to do it step by step so you can start your homemade bokashi today:
Basic Ingredients
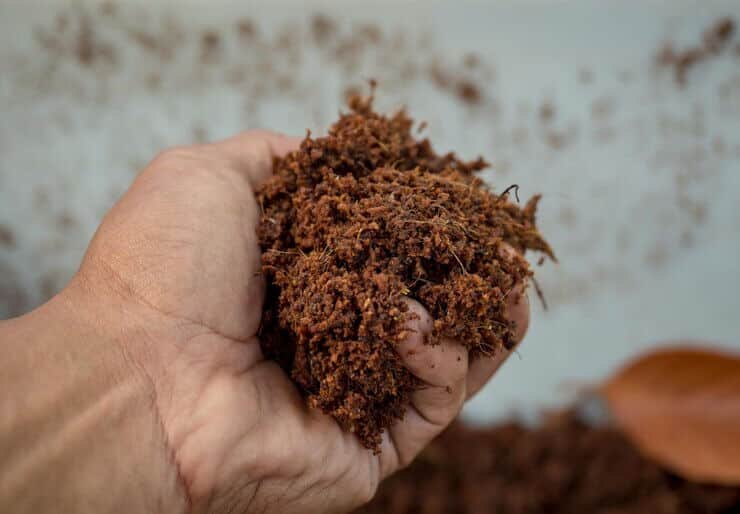
- Rice or wheat bran (dry, carbon-rich base)
- Cane molasses (food for microorganisms)
- Non-chlorinated water (better if it is rain water or water that has rested for 24h)
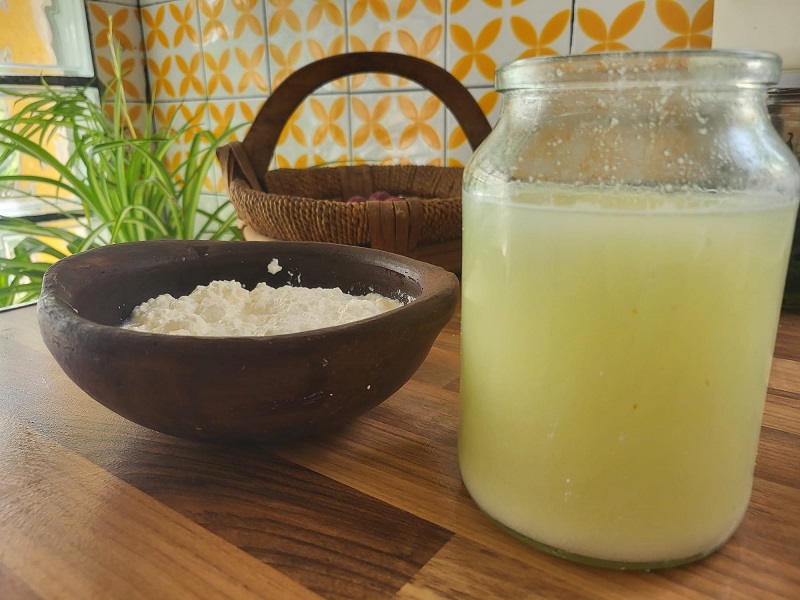
- Efficient microorganisms (EM) or natural ferment (unpasteurized buttermilk, plain unsweetened yogurt or rice starter)
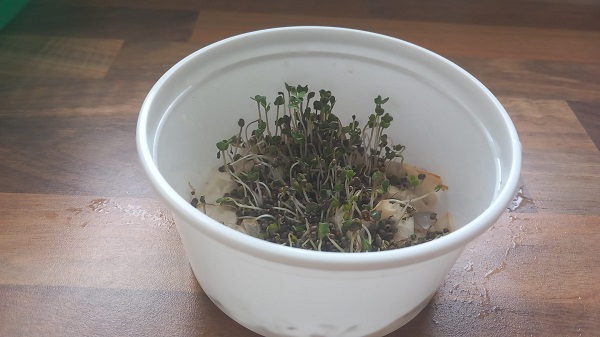
- Shredded organic waste (fruit peels, vegetables, coffee, tea, etc.)
- Optional: rock flour, wood ash or charcoal (recommended, as they provide minerals)
Materials
- Large container (either a plastic box with lid, bucket or pail)
- Shovel or your hands (for mixing)
- Cloth or plastic (to cover the container if it does not have a lid)
- Gloves (optional)
Step by Step
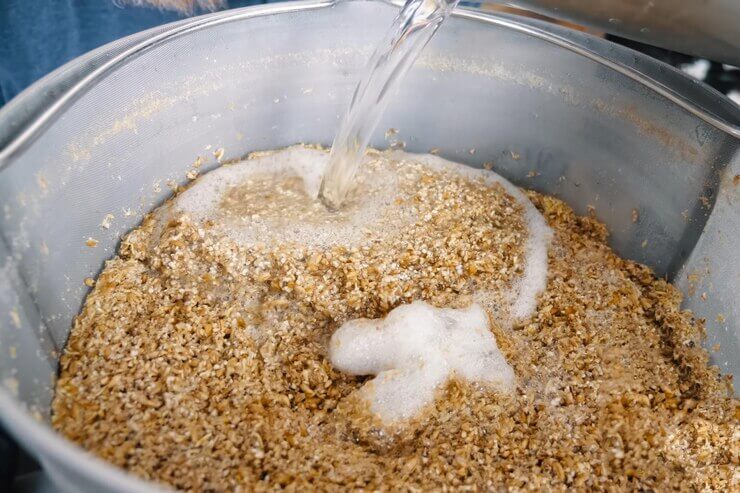
1º Prepare the microorganism activator liquid: mix 1 part molasses, 1 part EM or natural ferment and 10 parts non-chlorinated water in a bottle. Stir well and let stand for 10 minutes.
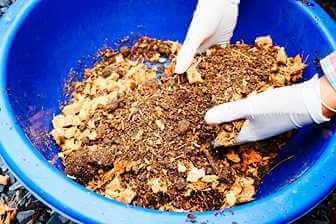
2º Make the dry mixture: In the large container we have selected, place 10 parts of bran and 2 parts of crushed organic remains. If you want your bokashi to provide minerals as well, add in this step 1 part of ash or rock flour. Mix everything until it is evenly distributed.
3º Add the activator: Add little by little over the dry mixture while stirring constantly. The ideal texture would be similar to a wet sponge, you can squeeze it with your hand and it will hold together without dripping water.
4º Fermentation: Cover the container tightly to prevent air from entering. If you use a box without an airtight lid, you can cover it with a damp cloth or plastic. Store the bokashi in a dark and warm place (20-30 ºC).
5º Wait and check: During the next 7 – 14 days stir the mixture once a day to oxygenate it slightly, watch for bad smell (if it smells rotten discard the bokashi and make a new one), it should smell slightly sweet or fermented, like bread or yeast. When the smell is pleasant, the texture firm and it does not feel hot to the touch, your bokashi is ready to use!

Conservation
Once the fermentation process is finished, when the bokashi has a sweet or slightly sour aroma, similar to yeast or damp earth, it is important to store it correctly to maintain its properties until it is used.
To keep it in good condition:
- Store in an airtight container or tightly closed bag to prevent excess oxygen from entering and restarting fermentation. The bokashi should not dry out completely, but neither should it be re-wetted.
- Keep it in a cool, dry place protected from direct sunlight. Extreme temperatures or sun exposure may alter its microbial balance.
- Avoid storing it for long periods. Ideally, it should be used within 2-4 weeks after preparation, although it can last up to two months if properly stored.
If you notice that it changes its odor to an unpleasant one or that dark or greenish mold appears, it is better not to use it.
How to Apply Bokashi
Bokashi is very versatile and can be adapted to different times and types of crops. The important thing is to use an adequate amount and mix it well with the soil to make the most of its benefits. Below, we explain how to apply it according to your objective:
To prepare the soil before planting
Incorporate 1 to 2 kg of bokashi per square meter of land. Mix it well with the topsoil about 10-15 days before planting to activate the microorganisms and improve soil structure and fertility.
To feed plants already planted
You can apply small amounts (about 1 or 2 handfuls per plant, or 200 grams per m²) around the base, without directly touching the stem. Then cover it lightly with soil and water to help the nutrients integrate.
In urban gardens or pots
In small spaces, one tablespoon per plant every 15 days will suffice. Gently integrate it into the soil and water normally. You will notice an improvement in the color, vigor and productivity of your plants.
To regenerate depleted soils
In very degraded soils you can make more abundant applications (up to 3 kg per square meter) and repeat the process every few weeks. This will help to recover the soil life in a progressive and natural way.
Remember that bokashi does not burn the roots like chemical fertilizers, but using it in excess is not necessary either. Less is more, especially when it comes to living soils.
Here is a selection of products that can make your work easier if you want to prepare bokashi at home:
🌾 Wheat Bran
A basic to enhance the elaboration of bokashi, compost or fermented preparations. Rich in nutrients and easy to use.
👉 View on Amazon🦠 Efficient Microorganisms
Ideal for improving soil health, activating composting and strengthening your plants naturally.
👉 View on Amazon🪨 Rock Flour
Remineralizes, improves and provides nutrients to the soil structure naturally in the long term.
👉 View on Amazon